LiveActive Blog
Say no to the Printer Problem and yes to LiveActiveBlog. The printer experts!
LiveActive Blog
Say no to the Printer Problem and yes to LiveActiveBlog. The printer experts!

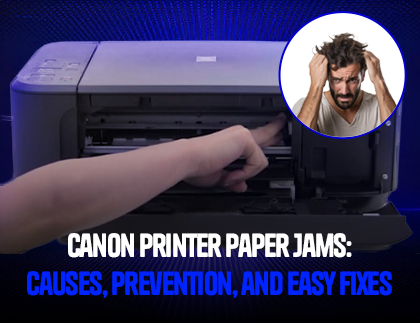
Paper jams are a very common issue among users of Canon printers. There are various reasons for this. A paper jam can easily disrupt your workflow. In this blog, we will talk about the causes of paper jams and how to fix them. Additionally, we will also talk about the prevention of future printer paper jams.
There are a lot of issues that can be a reason for the paper jam in the Canon printers. Here are a few of the common reasons for paper jams.
Some of the papers are too thin or too thick and might not work well with your printer. Other than the paper being too thin or thick, the paper having uneven edges can cause feeding issues resulting in paper jams.
Dust or derbies are very bad for printers. Dust interferes with the working of rollers and sensors which can increase the chances of a Canon printer paper jam.
The paper loaded into the paper tray must be aligned properly. When the paper is not loaded correctly, the Canon printer paper jam occurs.
The paper setting is a very important thing. When the paper settings of the printer and the paper that is being fed into the printer do not match, the printer starts acting weirdly resulting in paper jams.
Roller is a component that pushes paper in and out of the printer. When the rollers are not clean or worn out, they start losing their grip and the paper can get stuck inside the printer.
Stuffing too many sheets or keeping a very low amount of sheets in the paper tray can cause the printer paper to jam in Canon printers.
In this blog, we have talked about the reasons for printer paper jams and we will tell you how to clear the jam but the most important thing is to avoid the paper jam. Here are some of the things to keep in mind to avoid printer paper jams in the future.
There are a lot of companies which make paper for printers. For Canon printers, it is recommended that you use Canon papers or any high-quality paper made by a good brand. Check the weight, size, and type of paper before buying it.
Fan the stack of paper to avoid sticking together. Align the edges and make sure that the papers fit snugly within the guided mark in the paper tray
Go to the printer software, check your printer settings and whenever you put a new type of paper into the paper tray, remember to adjust the paper settings of the printer.
Load 20-25 papers into the paper tray. Do not load just 4-5 sheets or more than 25 sheets into the paper tray to prevent the printer from grabbing multiple papers at the same time.
Dust and Derbies can accumulate inside the printer over time. Clean the internal components of the printer using compressed air and cloth. Clean the paper tray, rollers, and the scanning unit too.
Remove any paper that is torn, has wrinkles, or is curled. Keep these sheets aside and load the rest of the papers after aligning them.
It is very easy to clear a Canon printer paper jam. Follow the steps below to fix it.
Step 1- Turn of the Printer
To ensure safety, first turn off the printer and then disconnect the power cable from the Wall socket.
Step 2- Locate and Remove the Paper Jam in the Paper tray
Paper jam can occur in the paper tray. Remove the paper tray, look for jammed paper, and then put it back into the printer
Step 3: Open the Printer Front Cover
Locate the Access cover of the printer. To check inside the printer, remove the top lid or the front cover depending on your printer model
Step 4: Locate the Jammed Paper
Take a flashlight or a torch to look inside the printer for paper jams. You can look for paper jams inside the printer, near the rollers and the output tray.
Step 5: Remove the Paper Gently
Pull the paper slowly and steadily to avoid tearing it.
If the paper is stuck near the rollers, turn the rollers manually (if accessible) to ease the removal.
Step 6: Check the Rollers
Examine the rollers carefully. If there is dirt on the rollers, clean it with a damp cloth. If the rollers look worn out, replace them with new ones.
Step 7: Close the Printer and Restart
Once all the jammed papers are removed, close the top lid or cover of the printer, and put the paper tray back after loading it up. Connect the printer to the power and turn it on.
Paper jams in Canon printers are a common inconvenience but are usually easy to fix and prevent. By using high-quality paper, loading it correctly, and maintaining your printer regularly, you can minimize the chances of encountering a jam. In case a jam does occur, following the steps outlined in this guide will help you resolve the issue quickly and efficiently.